Part 4 – Package Testing
After creating the package, its advisable to test it on a clean workstation first to confirm it installs as desired. Complete this step before moving into setting up the package in Microsoft Config Manager, ManageEngine Endpoint Central or your deployment platform. This just saves the pain of having to update or delete and recreate the package later if you find an issue.
This document will just focus on clean installs, on a workstation that has no existing Acrobat applications installed. You may also wish to test doing an upgrade of Acrobat Reader if your environment has older versions that require updating with the package you are creating in this process.
Step 1
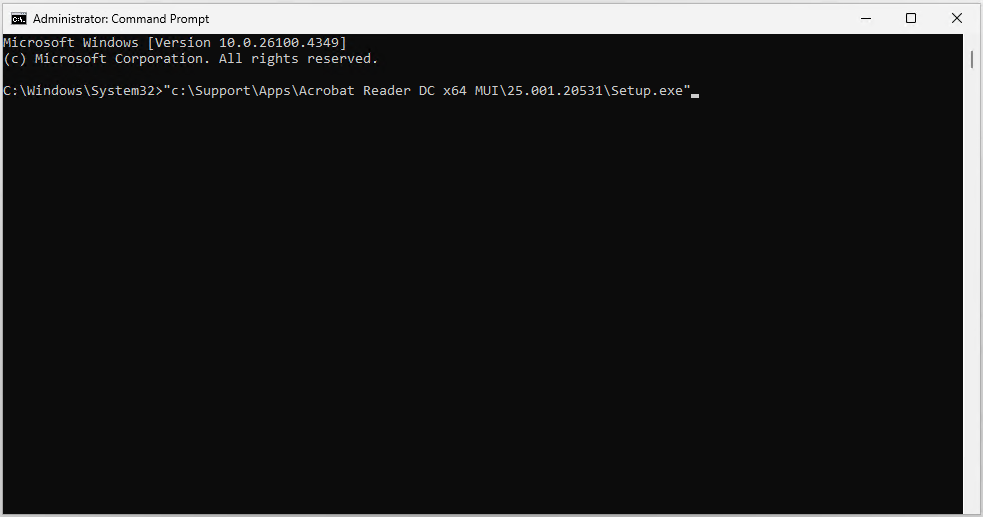
Copy the installer files to a folder on the C: Drive of the workstation you are going to

Step 2
Open an admin command prompt. As documented earlier, running setup this way ensures maximum compatibility and simulates how deployment platforms will install it.

Step 3
Tab through the path from \ to locate setup.exe in the folder you copied the installer to, and then press enter to start the installation.
We have opted for a silent install so you will not see anything on the screen.
The install will take around 1 minute and you can open Task Manager to watch for the msiexec.exe processes if you wish to monitor.
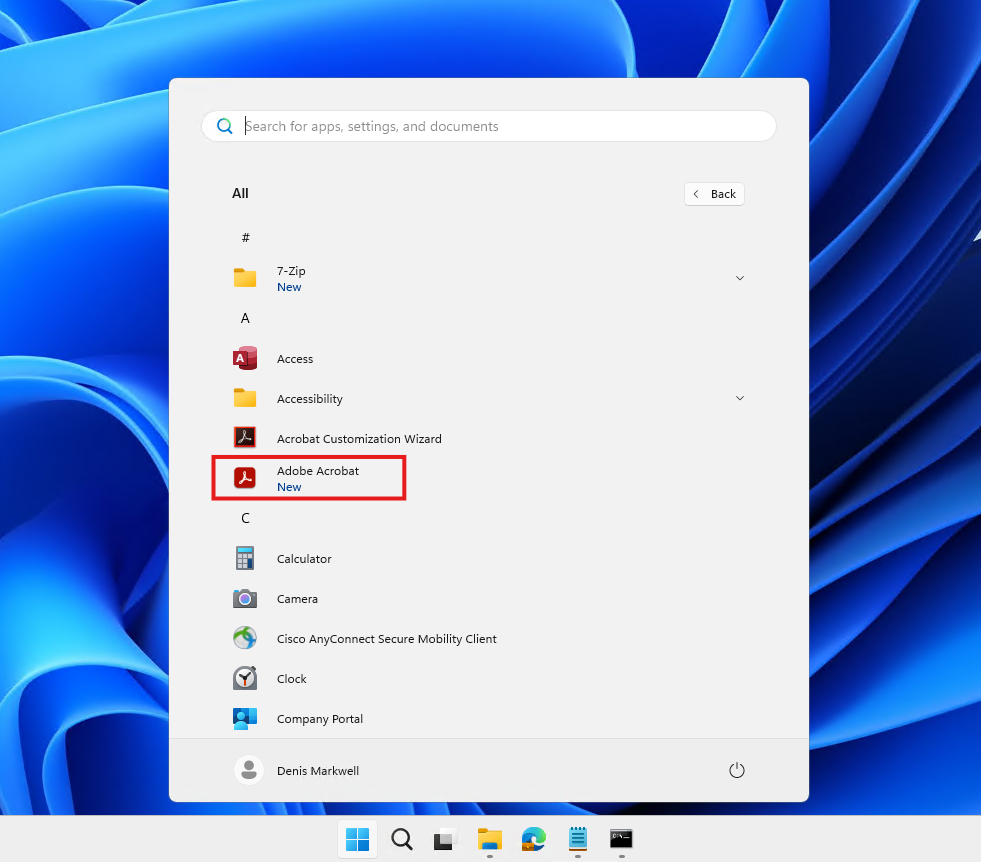
Step 4
You will be able to confirm the success of the installation by locating the Adobe Acrobat in the Start Menu > All page.
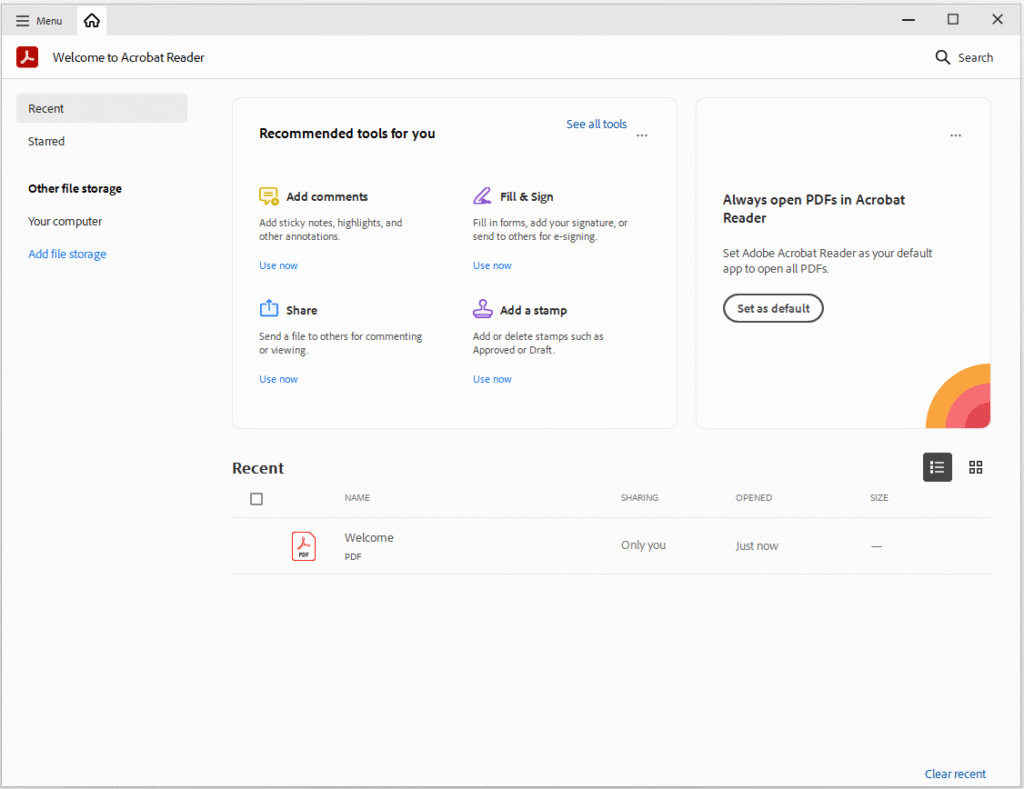
Step 5
Acrobat should now launch and go straight to the desktop.
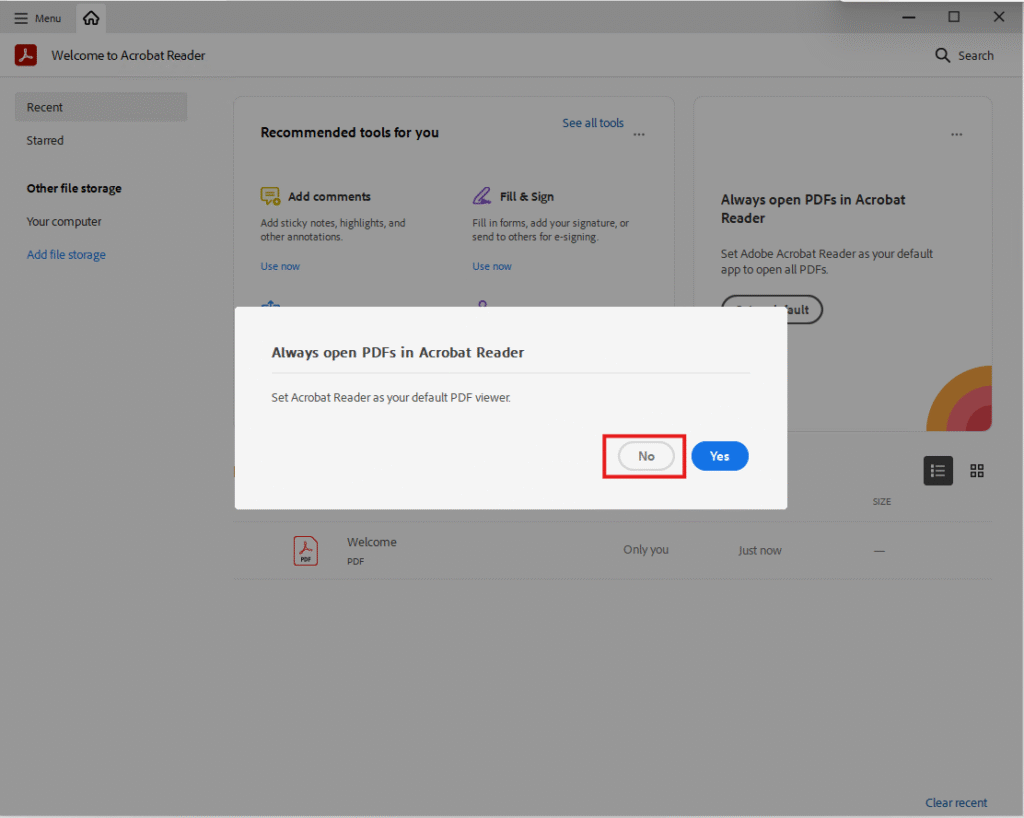
Step 6
Users will still get prompted about changing the file associations, this is a per user setting and there is little risk in letting them choose.
It would have been ideal to just remove it, but the only options are auto assign to Acrobat or let users choose. My preference is to let users use the Microsoft Edge browser as its less resource intensive (well it use to be!)
Step 7
A welcome to acrobat reader splash will then open, again it’s a once only thing, so clicking X in the top right gets rid of it.
