(ManageEngine Endpoint Central – Software Deployment – Windows EXE from Local Computer)
Part 2 – Create a MEEC Windows EXE package
Step 1
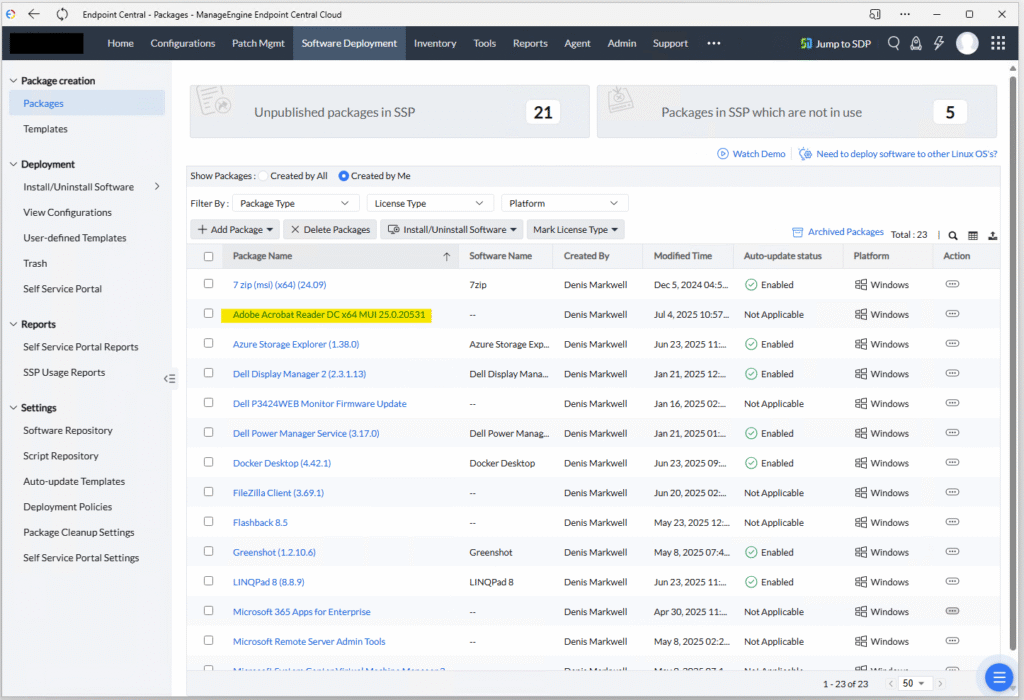
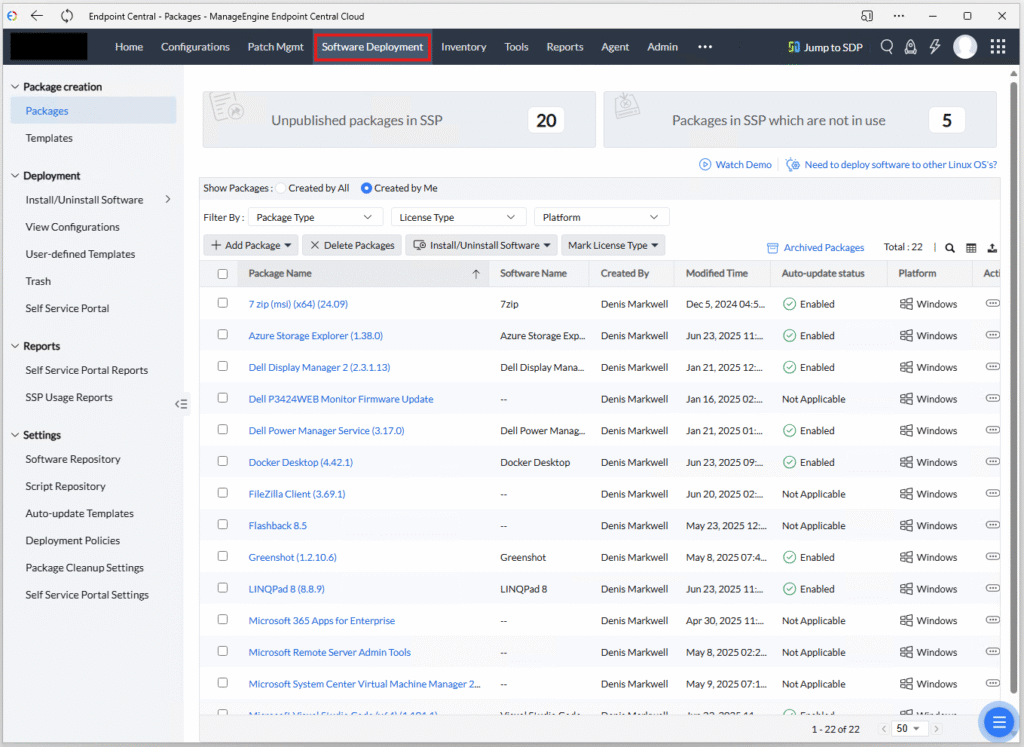
Open the ManageEngine Endpoint Central site and head over to Software Deployment blade. You should end up on the packages blade which is where we need to be.
Note that this demonstration is using Endpoint Central Cloud hosted in the Australian Datacentres
Step 2
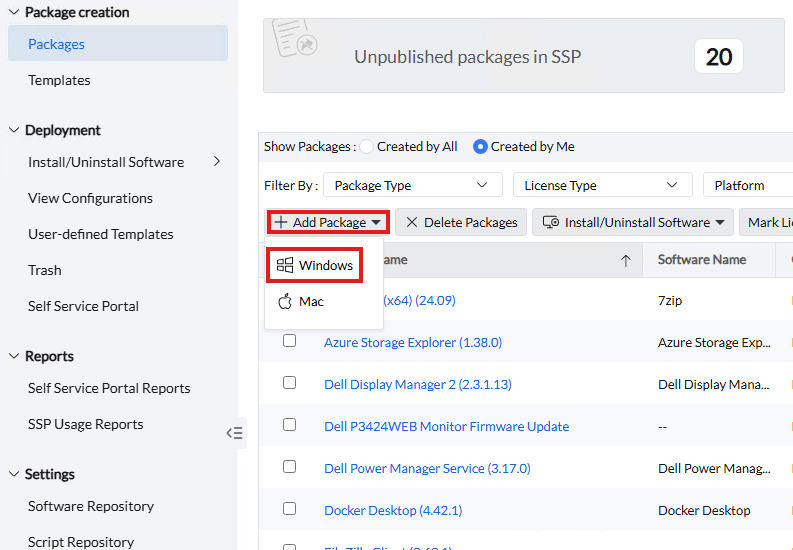
Now click on the +Add Package button and then from the drop down, select Windows.
Step 3
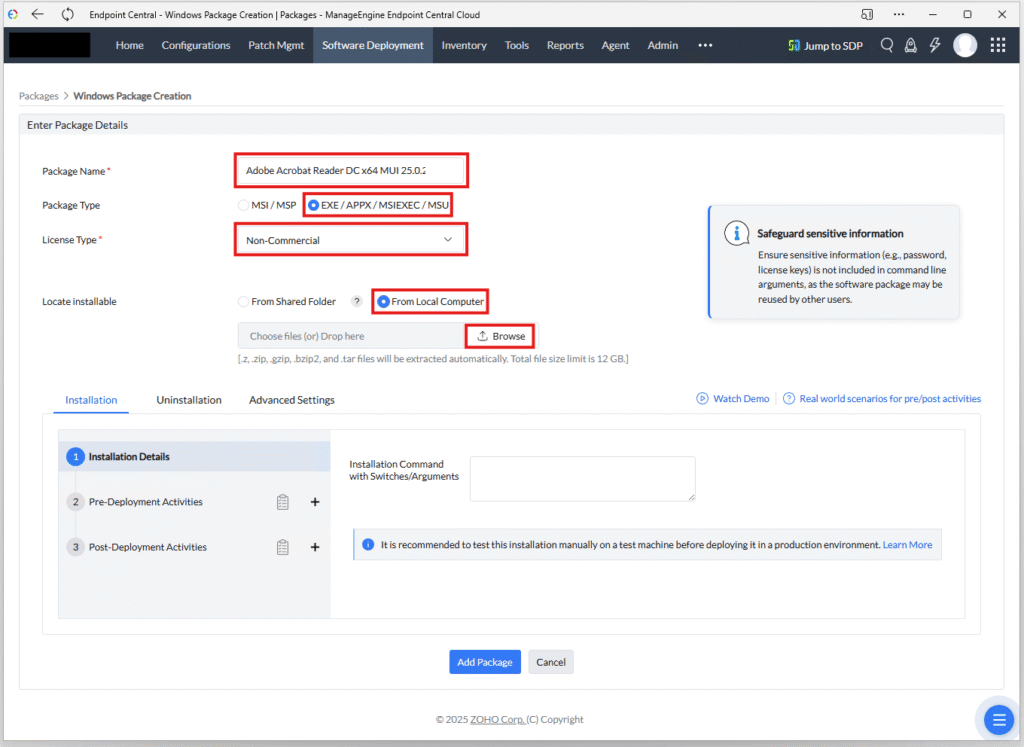
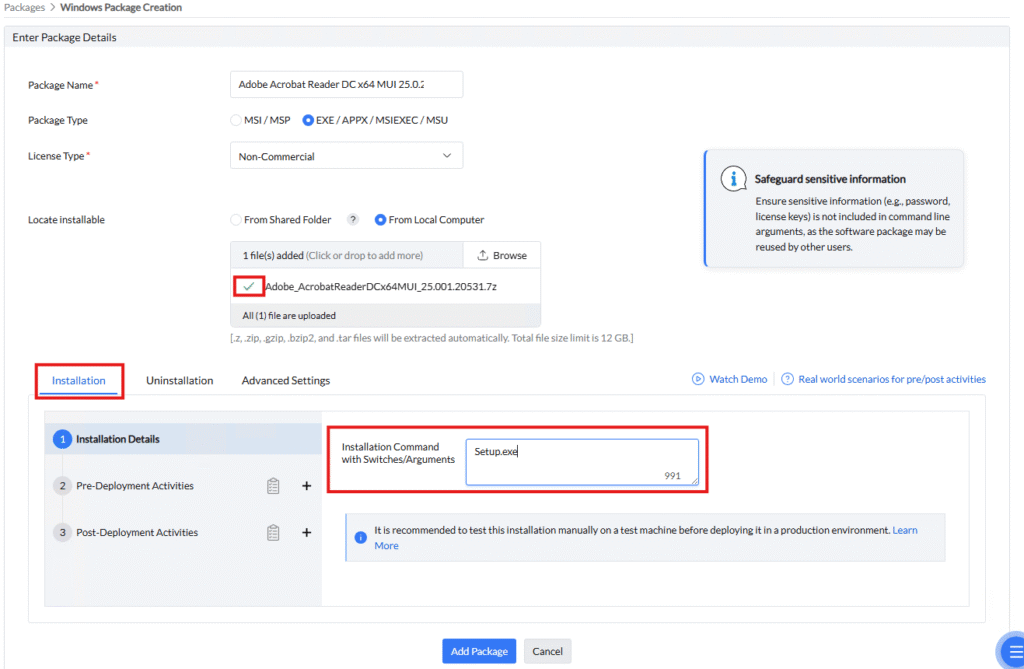
When the Windows Package Creation page opens, enter in a package name using your preferred naming convention (which for me is Manufacturer Product Version)
Next change the package type to EXE / APPX / MSIEXEC / MSU
Switch the license type to Non-Commerical (I believe this has little impact but more around self-service if people need approval to install apps)
Next, switch the Locate Installable to From Local Computer, as we will be installing this to machines off the corporate network so they wont be able to reach a shared folder.
Now click the browse button so we can add the 7zip file (You can also just drag and drop from Windows Explorer straight to the browser here to save time).
Step 4
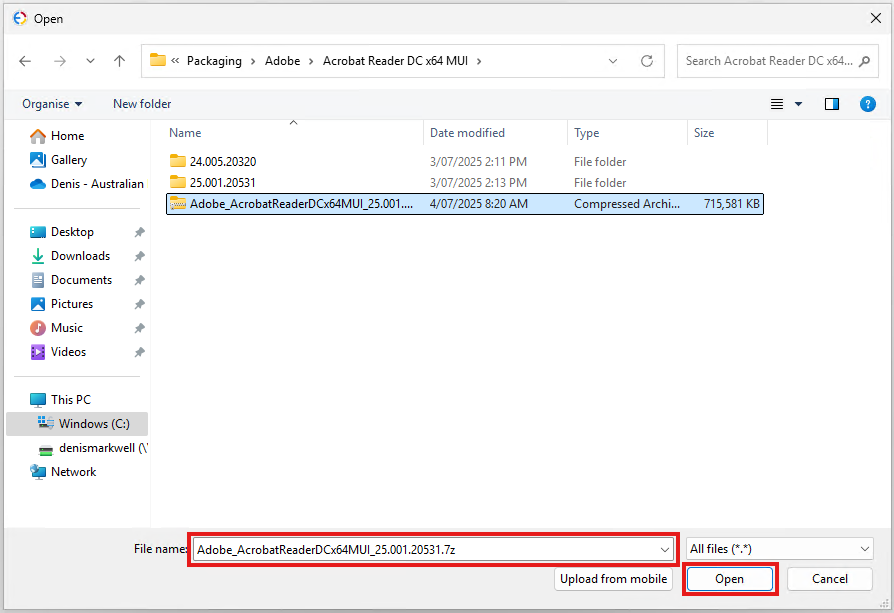
Locate the 7-Zip file for acrobat and then select it and click Open
Step 5
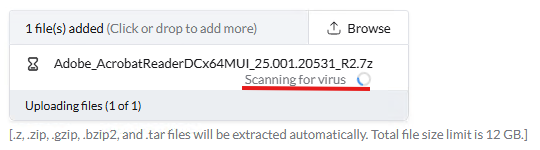
Returning to the browser, you will now see the file is being uploaded to the server.
Due to Acrobats size – over 700MB compressed, this will may take a while.

The remote server will also scan the upload for viruses. Once the process is complete, will show a green tick to the left of the file name (visible in step 6 screenshot).
Step 6
Now we move down to the installation properties.
ManageEngine Endpoint Central will automatically extract our 7-Zip file before it attempts to run our install command.
The Acrobat package we made does not require any additional switches or properties as they are all baked into the package via the transform and setup.ini file.
All we need to do is enter setup.exe
We also have the option to run scripts before and after the install, they are not required for this package but some possible uses include running a script to remove old versions or doing some cleanup or post install tasks like moving shortcuts.
Step 7
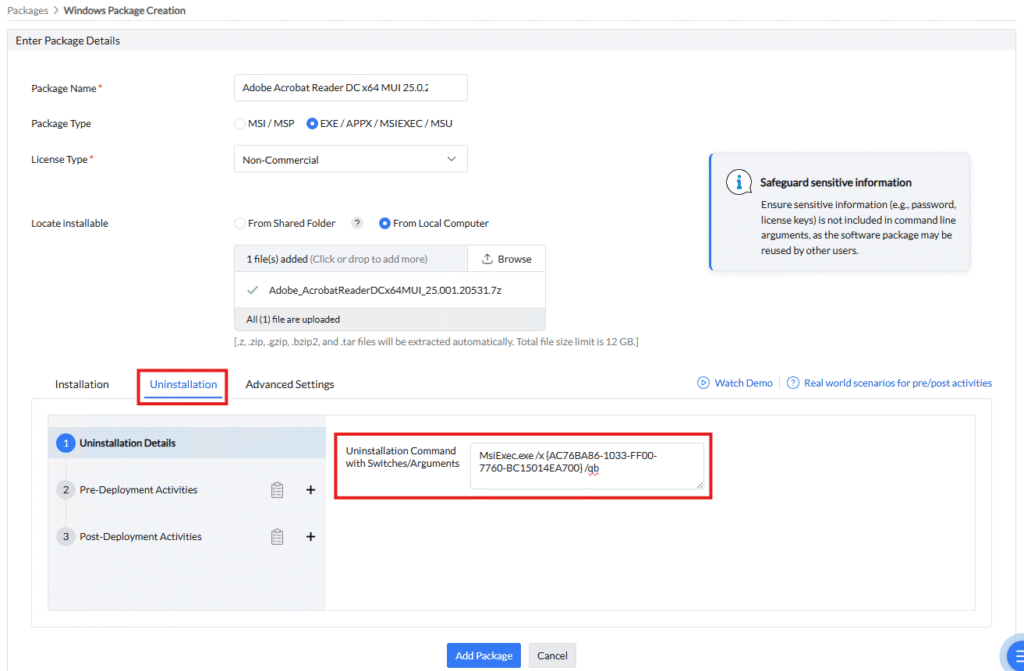
Now switch to the Uninstallation tab.
Note that this is optional and obtaining the uninstall string diserves a blog post in itself so I won’t go into detail here.
In summary:
- Most applications are MSI installers, so they can be uninstalled with the command:
MsiExec.exe /x {GUID} /q - All we need is the GUID which you can find in the registry at: HKLM\SOFTWARE\Microsoft\Windows\CurrentVersion\Uninstall\
or:
HKLM\SOFTWARE\WOW6432Node\Microsoft\Windows\CurrentVersion\Uninstall\ - Just go through every GUID child key until you find the the app you need to uninstall and use the GUID of the registery key.
Step 8
These values are optional but switch the Architecture to 64bit (I dont believe this has any real impact on the installation process).
Set the Name properties to match your naming conventions.
We are done! so click Add Package.

Step 9
Our package is now ready to test 🙂